Does The Angle Of My Coilover Shocks Matter?
When it comes to setting up coilovers in a high-performance or custom suspension application, one of the most overlooked—and misunderstood—elements is the angle of the shock. We’re not just talking about aesthetics or packaging convenience. The angle at which your coilover is mounted fundamentally changes how that spring and shock combination behaves under load. Whether you’re building a chassis from scratch or tuning an existing setup, getting this right can mean the difference between a car that handles properly and one that feels underdamped, undersprung, or just plain wrong.
Let’s break this down and talk about why angle matters, how to calculate the right spring rate, and what to watch out for when leaning your coilovers.
Why Coilover Angle Matters
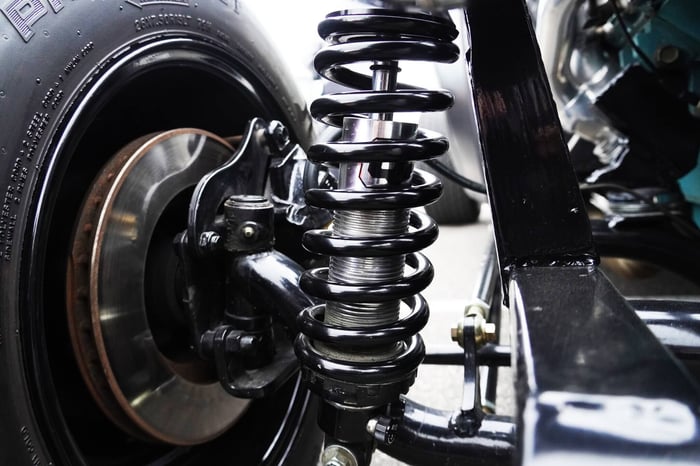
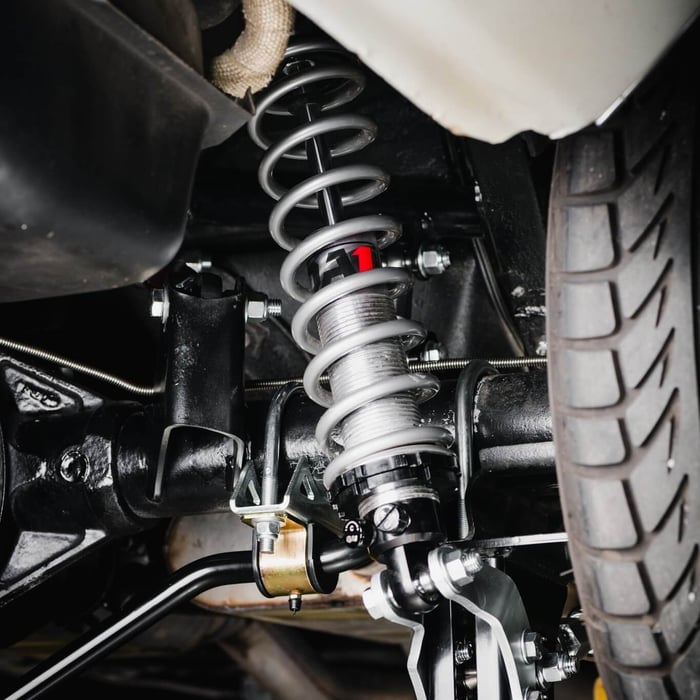
In a perfect world, your coilover would sit perfectly vertical, directly in line with the direction of wheel travel. That’s the most efficient orientation. One inch of wheel travel compresses the shock one inch. Simple. But in real-world applications—especially in street cars, custom chassis, or vehicles where clearance is a concern—coilovers often get leaned inboard at an angle. Whether that’s due to packaging constraints like frame rails, exhaust, or suspension geometry, the shock is now being asked to do more work with less mechanical advantage.
Here’s the crux: when a coilover is leaned over, it compresses less for a given amount of suspension travel. This reduced motion ratio means the shock sees less of the wheel movement. As a result, it becomes less effective at damping—and more importantly, the spring mounted on it also becomes less effective at supporting the vehicle's weight. That’s where spring rate correction comes in.
Spring Rate Correction: Understanding the Angle Correction Factor (ACF)
The spring mounted to your coilover shock is designed to provide resistance over a certain distance. If your coilover isn’t seeing the full stroke because it's angled, it takes a stiffer spring to produce the same vertical load. To correct for this, you apply what's called an Angle Correction Factor (ACF)—the cosine of the angle between the shock and true vertical.

QA1’s spring rate correction chart, shown above, gives you cosine values for common mounting angles:
10° = 0.981
20° = 0.942
30° = 0.873
45° = 0.710
Let’s say your car needs a 200 lb/in spring rate when mounted vertically. If you’re mounting the coilover shock at a 30° angle, the correction is:
Corrected Rate = 200 ÷ 0.873 ≈ 229 lb/in
So, to support the same weight, you’d need a 230 lb/in spring if you lean your coilover to 30°.
The takeaway: the more angle you add, the more spring rate you need. And the relationship isn’t linear. As you can see in the chart above, the fall-off in effectiveness ramps up quickly after 20°, which is why many builders aim to keep shock angles below that threshold when possible.
Practical Setup Tips: How to Measure and What to Avoid
Measuring coilover angle starts with the car at ride height. It’s critical that you measure this at the actual installed position, because suspension droop or compression will change the angle. Here’s how to do it:
- Use a digital angle finder or even a basic inclinometer.
- Measure the angle from vertical—not from horizontal. This is important because the cosine function assumes vertical as the baseline.
- Include both front-to-back and side-to-side tilt if applicable. What matters is the net angle from vertical, even if the shock is leaning diagonally.
Once you’ve got your angle, perform the simple math to apply the cosine (ACF) correction as outlined above to determine your needed spring rate.
One common pitfall? Builders who reposition shock mounts for visual symmetry or packaging, without remeasuring shock length or correcting the spring rate. Remember, a shock mounted at 45° is only 71% as effective as it would be vertically. Without adjusting spring rate or shock valving, your car will sit too low and may bottom out under load.
What Happens When You Get It Wrong
When you don’t correct for angle, two big problems emerge.
First, you end up under-sprung. A spring that’s too soft for the effective load means your ride height is off, your suspension will compress too easily, and you’ll likely be dealing with excessive body roll, poor weight transfer, and tire clearance issues.
Second, you risk bottoming out your shock. Angling a shock increases its effective length in the system. If you don’t measure correctly, your new shock could run out of stroke. Worse, it could hit the bump stop prematurely, which can cause bind, damage, or unpredictable handling.
There's also a less obvious issue: oil control and damping consistency. While QA1 shocks are designed to work at a wide range of angles without compromising performance (thanks to internal design and adjustable valving), not all shocks are created equal. Emulsion shocks, for example, may suffer from foaming or oil aeration when run at extreme angles.
So what’s the rule of thumb?
Under 20°, don’t sweat it too much. Your ACF is close to 1.0, and the correction is minor.
Between 20° and 30°, you need to start adjusting spring rate and possibly click up your damping settings.
Above 30°, you need to be very deliberate with your spring selection, your valving, and your shock stroke. This is where it’s easy to get into trouble if you don’t know what you’re doing.
Best Practices for Builders
If you’re designing a suspension from scratch, vertical is best—but it’s not always possible. So instead, aim for an angle that’s workable and consistent with the rest of the geometry.
- Keep angles under 25° whenever possible.
- Use QA1’s angle correction chart to choose your spring rate properly.
- Measure your compressed and extended shock lengths after your mounts are welded in, not before.
- Use adjustable coilovers so you can fine-tune ride height and damping to match the angle correction.
And remember: angle is just one piece of the puzzle. Motion ratio, unsprung weight, suspension linkage design—all of it plays a role. But getting the coilover angle right is one of the easiest ways to make sure your suspension actually performs like you want it to.

Any time you put a shock at an angle, the shock is going to get squeezed less than the suspension moves. Thus, you have to turn up the compression settings or add more spring rate to compensate. Don’t overlook the angle. Beyond geometry, it’s physics that shows up every time your tires hit the pavement.
Need help calculating your spring rate or choosing the right QA1 shock for your setup? Grab a digital angle finder, take your measurements at ride height, and let the numbers guide you. Because in suspension setup, precision isn't optional, it really is foundational.